
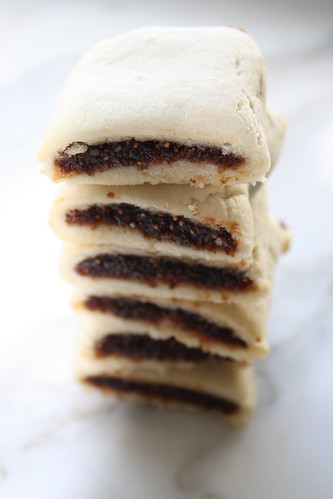
Home Made Fig Newtons
I think you are either a Fig Newton lover… or not. But let’s forget about those people, as I am a Fig Newton lover. I have the most wonderful, nostalgic associations with this classic cookie. It was the only “packaged” sweet I remember being allowed as a kid, (I honest to God had my first Oreo in college, but that is a different story) and boy did we love them.
They are soft and chewy and soooo good. Creamy vanilla dough and a textured, sweet, figgy filling! A great cookie for your kids lunches, or for the grown ups that grew up eating them!
Cookie Dough:
1 1/2 sticks butter, at room temperature
¾ cup white sugar
1 ½ large egg whites
1 tsp vanilla extract
2 ¼ AP flour
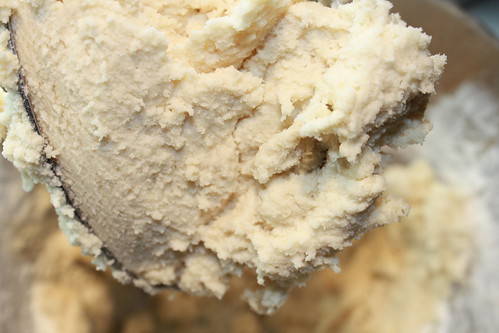
In the bowl of a mixer, cream together the butter and sugar until pale and fluffy. Add the egg whites and vanilla and mix until well combined. Slowly add in the flour and mix until there is a smooth, uniform dough.
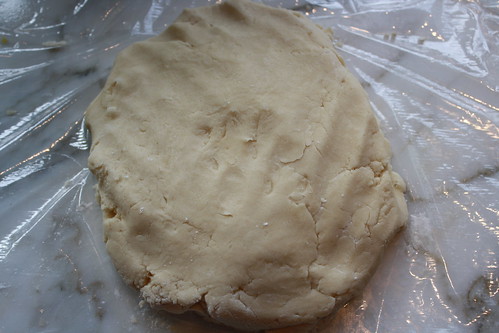
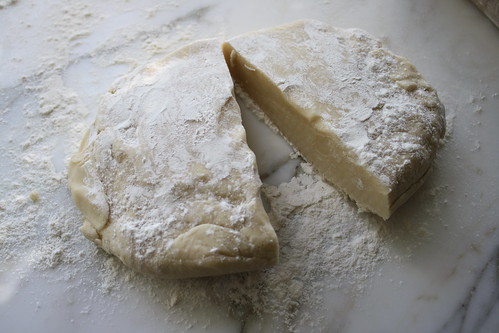
Like a sugar cookie dough, I formed this into a smooth disc, wrapped it in saran wrap and put it into the refrigerator to chill. You could let it chill for an hour, or up to several days depending on your schedule.
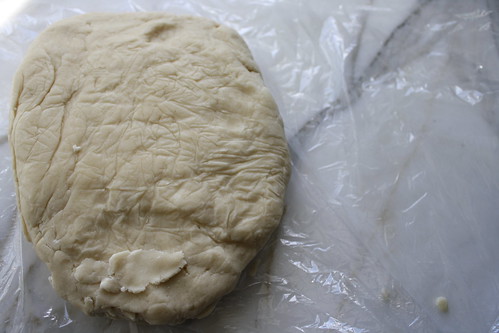
(chilled dough)
Figgy Filling:
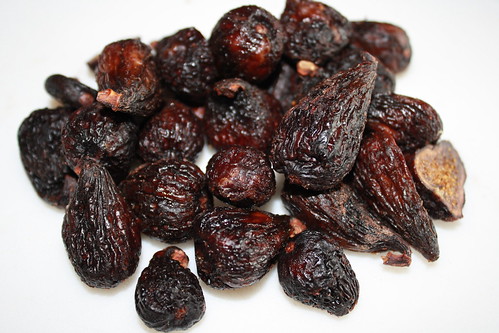
1 cup of dried mission figs, (that is how many come in your average store purchased package of dried figs)
2 cups good quality apple juice
½ cup water
½ cup sugar
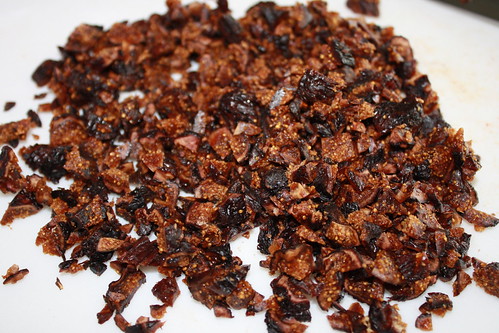
Finely chop the dried figs with a sharp knife.
In a small sauce pan, combine the figs with the sugar, juice and water.
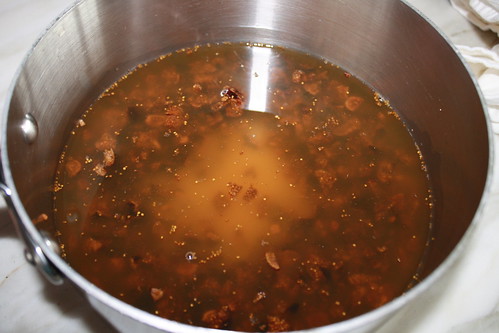
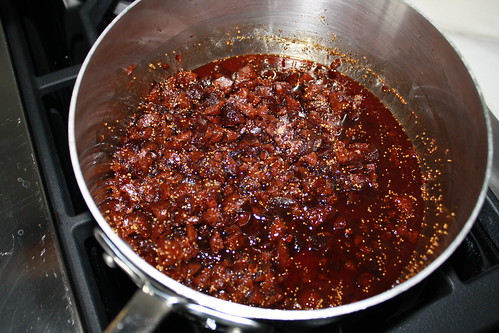
Mix everything together and simmer uncovered about an hour, or until the figs are soft and most of the liquid has been reduced to a syrupy consistency.
Wait for the mixture to cool slightly and then add them to the bowl of a food processor.
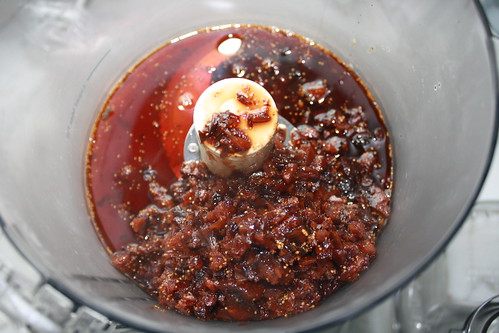
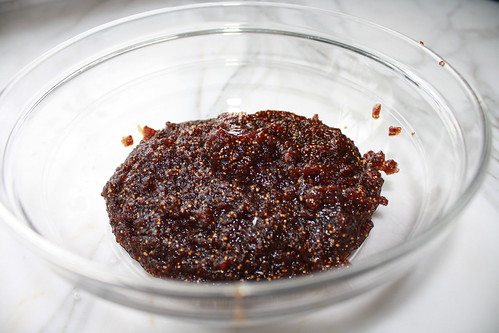
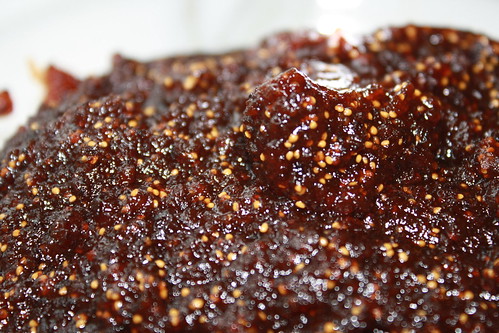
Puree the figs until they make a paste.
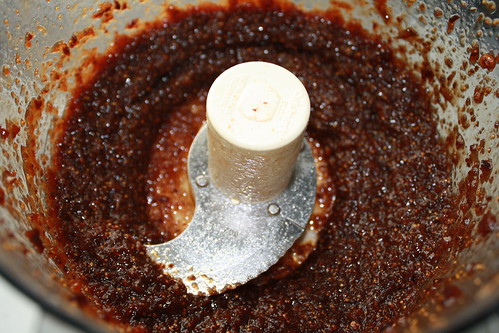
Refrigerate the puree until cold, a few hours and up to a few days.
Pre heat the oven to 350 degrees. Prepare one large sheet pan with a silpat or a sheet of parchment paper.
Cut the disc of dough in half, and on a floured surface, roll out each half into an approximately 12×8” rectangle. Trim the edges with a sharp knife so that it is an even rectangle.
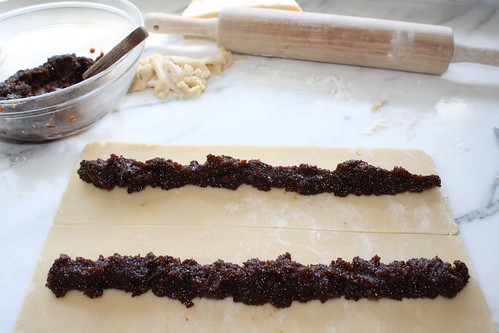
Cut this in half, so that you have two long strips, approximately 12×4”.

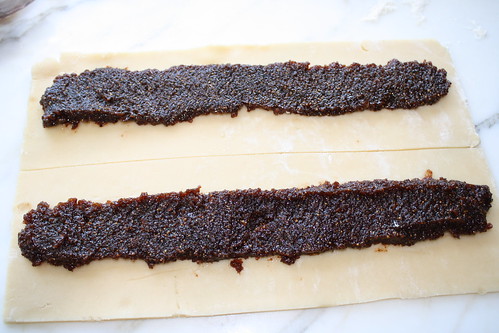
Spread ¼ of the fig mixture down the center of each of the strips.
Fold the edges over so that they meet, and lightly seal them together.
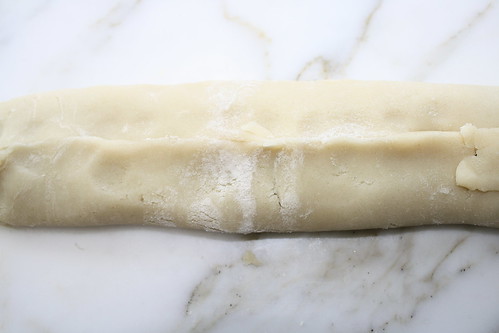
Turn the “log” over, so that the seam is on the bottom of the cookies.
Transfer (carefully!!!) the logs to the sheet pan.
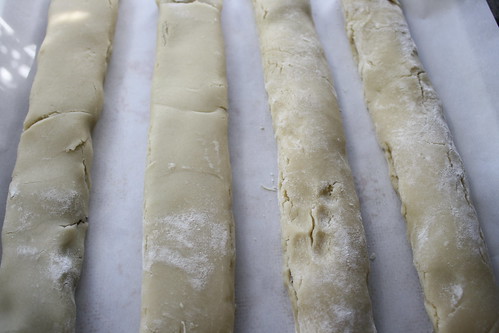
Using a sharp knife (I think a serrated knife works best) cut the logs evenly into about 2” long bars.
Repeat this with the additional dough and fig filling.
Bake the fig bars until they are barely golden, but still quite pale. This took about 20 minutes, but every oven is different so keep an eye out after the 15 minute mark.

Store these in an airtight container after cooling.
Truth be told these were better the second day, and just continued to get better and better! These were good up to a week after I made them. After that I can’t vouch! Because we ate them all ☺
Print Recipe


How would you adapt using fresh figs instead of dried ones? My Dad has 3 fig trees bursting at the seams with figs, and I thought fig newtons would be perfect for some. These look wonderful!
Hi Alex! I cannot guarantee that this will be perfect since I have only used dried in this recipe, but I would simply use fresh instead of dried, and ommit the apple juice (which is used to plump them up). Please let me know how this goes! As far as using up your figs, (i do this every year with mine!) roasting a pork loin in tinfoil with the figs is great, as well as turning them into fig chutney and canning a fig spread which is amazing with cheese in the middle of winter when there are no fresh figs to be found! As my own figs ripen in the next few weeks, I promise to make some recipes!
In your opinion, knowing the consistency of the figs and the filling, could you do this in a blender? I’m coming to realize that while some things can be done adequately in a blender that call for a food processor, some things just do not work. What do you think?
I don’t know why not with this recipe, but be careful not to overblend and make a paste. Also, there is not a ton of filling, so makesure your blender can handle a small amount of liquid. Good luck! Let me know how it goes!
I love this! Fig newtons are sooo tasty. Yum!
These look amazing!
Fig Newtons are one of my favorites, too, but they don’t taste as good as they use to – I think the addition of preservatives has changed the quality of so many of my favorites foods. I never thought of making Fig Newtons…great idea, Mrs. C.
Count me in the lover side, and making them is not as difficult as I would have thought. GREG
i love fig newtons!!! i always wondered how to make it!!! can’t wait to try it!
This was awful! Is that a typo of how much butter you need? Mine were ruined because the dough completely liquified and spread all over the pan when they were baking. It was also extremely hard to roll out. The only thing I can think of is that the butter content is much too high…?
That is not a typo. That is only 1 1/2 sticks of butter to 2 1/4 cups of flour. The dough should have been stiffer than a chocolate chip cookie dough. Then you were supposed to have thoroughly chilled the dough before rolling it out. Are you sure you added enough flour and whipped the egg whites? I’m sorry it didn’t work out for you, but without having watched you make the cookies, it is so hard to know what went wrong, but sorry for your experience.
I was just reading through the comments here before starting the recipe – 12 oz is 3 sticks of butter (a block of butter is one pound, so each stick is 4 oz). 1 1/2 sticks would be 6 oz, or 3/4 cup. I’m going to try the smaller amount and see how it goes… fingers crossed!
yes! 1 1/2 sticks butter!
any ideas for replacing the egg whites for my allergic son? I’d love to try this. Maybe Ener-g??
lulu- I am so sorry! I don’t know anything about egg replacement in baking? if you use an egg substitute, please be sure to let me know how they turn out! Thank you!
Flax seed eggs! 1 tbsp flax meal and 3 tbsp water. Let sit until slightly thick.. 5-10 min.
OMG these sound amazing! I loved fig newtons as a kid. Now I’m going to have to get my hands on some dried figs. Thank you for the recipe!
Any ideas to subsitute other fruits for the figs?
Oh, I guess you could try apricots or cranberries?
could you substitute stawberries and maybe mix in homeade strawberry preserves?
I’m sure! If you try it please let me know how they turn out!
I made these with dried apricots and dried strawberries. Both were great! I made the strawberry ones with whole wheat flour and coconut sugar.
My fig filling is not paste like enough, more of a jelly consistency. I followed the directions/ingredients exactly. I’m putting it back on the stove to try to reduce it some more. But if it doesn’t work out, has anyone added corn starch to the filling to thicken it?
I have fresh figs right now. Would it be possible to use fresh figs and if so what Is the ratio?
They also have blueberry and strawberry ones . Do you by chance have a recipe for those ?
Hi! What’s AP flour?
All-purpose!
Could I use fresh figs for the filling?