I just wanted to share a little Easter Egg inspiration for you, since this is probably the weekend that you will be doing this pretty little project.
And if you are like me and my family, you will destroy all of your countertops, white bowls and clothes in a single hour of too much fun.
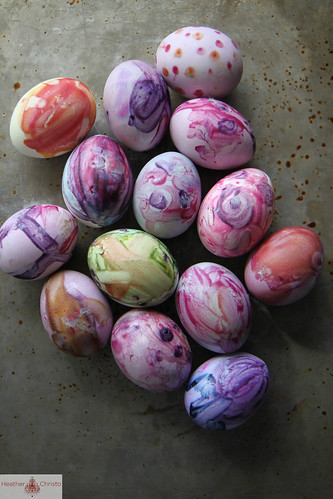
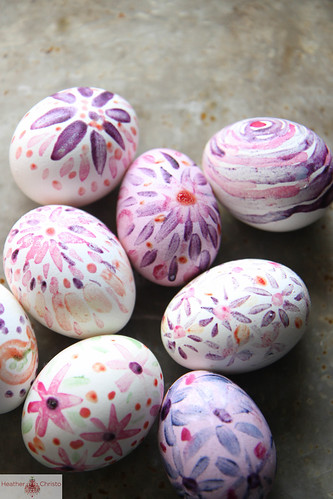
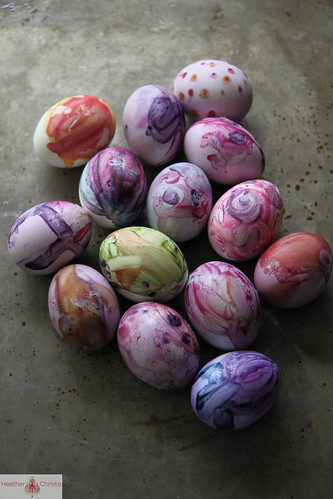
But it might have been worth it. The real artist in the family seems to be Pia. Coco had some interest, but Pia couldn’t get enough, and spent so much time and energy very carefully dying and decorating these gorgeous eggs.
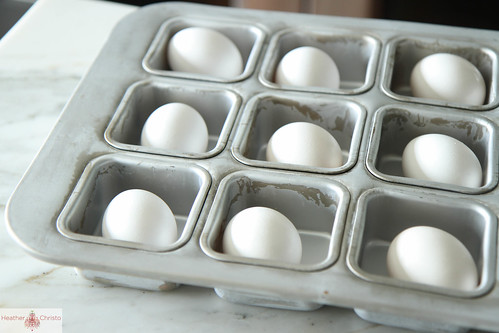
And I want you to know that I tried a technique that I saw on facebook. Where instead of boiling them, you place a single egg in each cup of a muffin tin and bake the eggs at 350 for 20-25 minutes. (the recommended 35-30 seemed to long.) Then I sprayed them with super cold water to stop the cooking process. This process seemed to make them pretty easy to peel and the yolk did turn out a really pretty bright yellow color (none of the weird gray color that you can get with boiling large batches). So over all I would try this technique again.
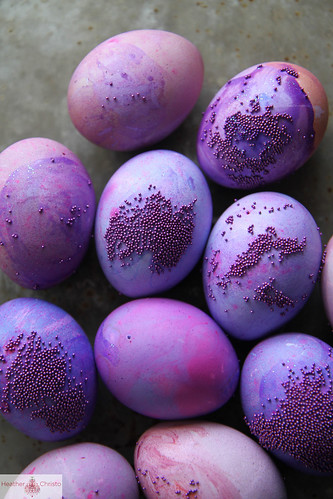
As far as Dye, we made three different kinds of Easter eggs.
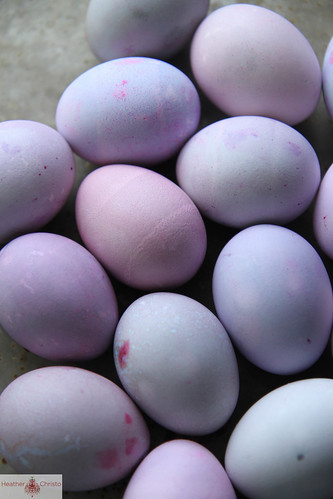
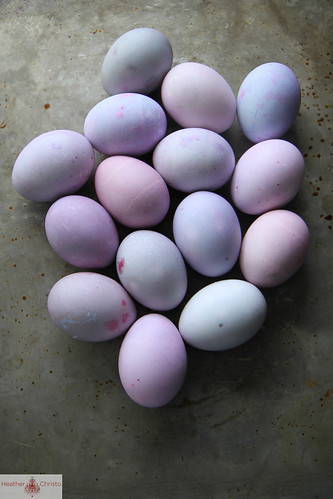
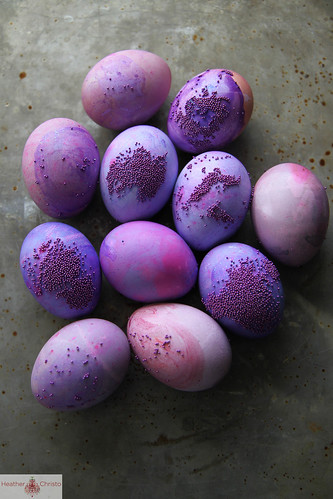
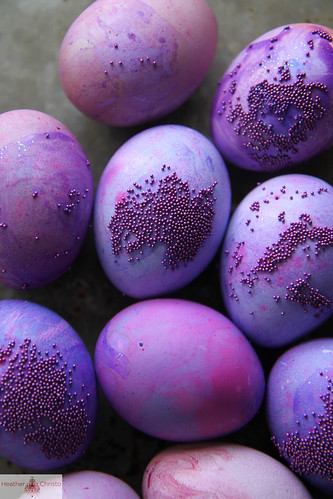
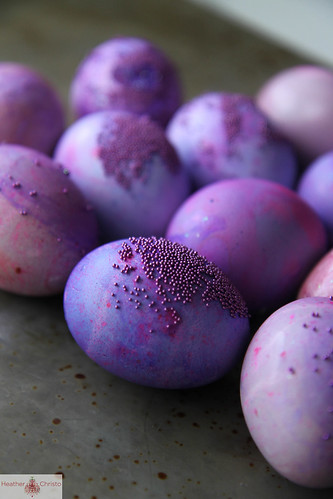
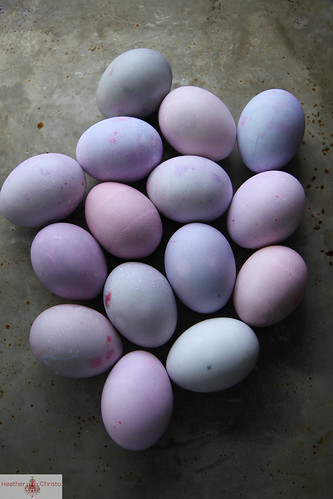
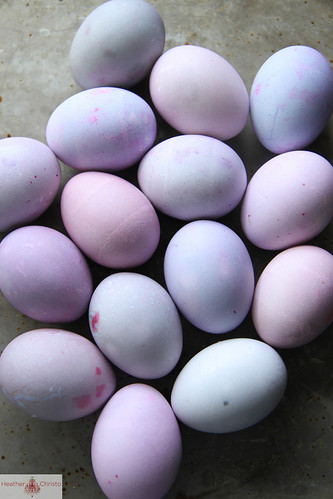
The pale shades of lavenders here. We did this with food coloring and vinegar and water.
The intense purple. We did these with drug store Easter Egg tablets combined with the original food coloring water combo.
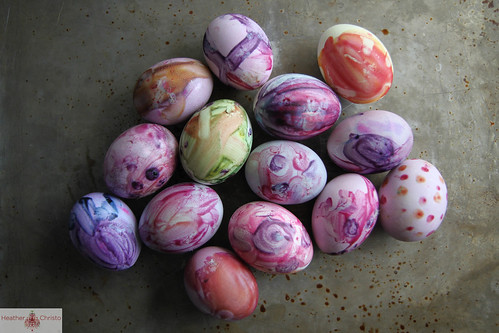
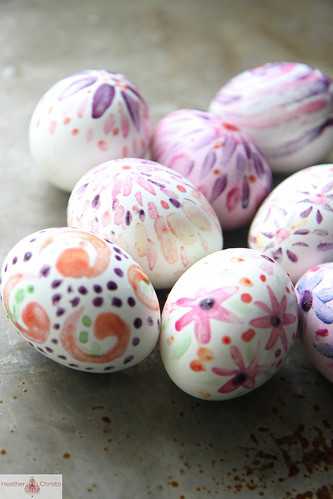
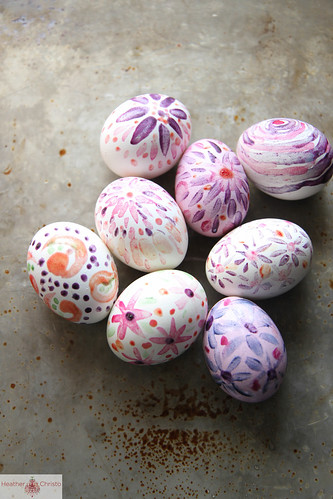
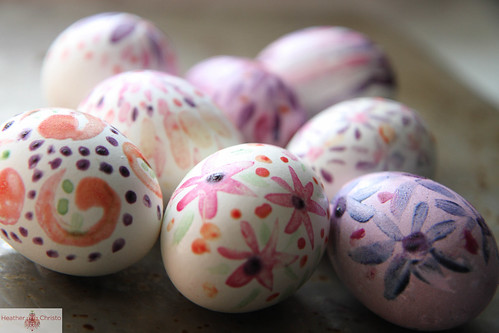
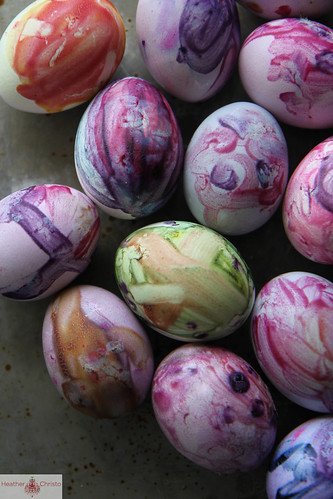
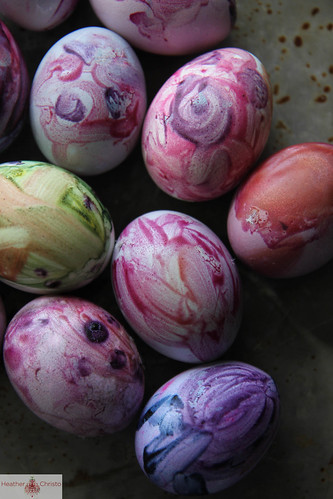
And then I found this really cool vegetable based dye at the grocery store (Met Market in Seattle).
Then I made “paint” out of it and Pia and I had lots of fun turning them into little works of art.
I hope that you have fun dying eggs!
Print Recipe



Beautiful Easter eggs. And I’ll bet it was a lot of fun. When my kids were small their teacher requested all the cracked dyed eggshells. She then had the kids do mosaics with the shells as they glued them on to a vase. This was their mother’s day gift to us. Still have them 16 years later!
Gorgeous!!!
Just finished making some with my little sister! We had so much fun, but yours look way better than our!
Love the colors and mixed with different colors of grass they take on a whole new look . The feeling and looks are endless. Tks, Susan