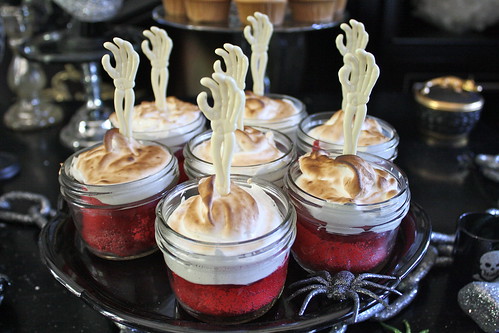
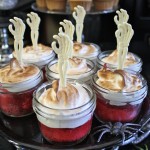
These cakes were inspired by Halloween! When I thought about what I wanted to make for my Spooky Halloween Dessert Buffet, a “blood thirsty” red velvet shot straight to the top of my list!
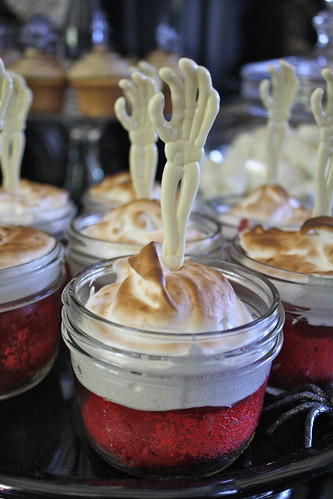
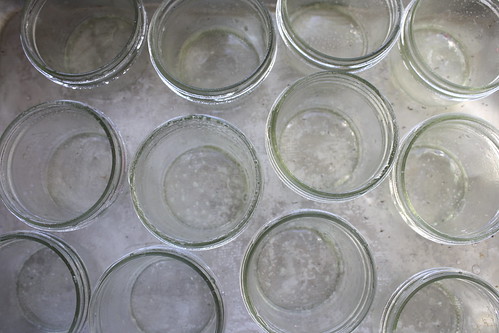
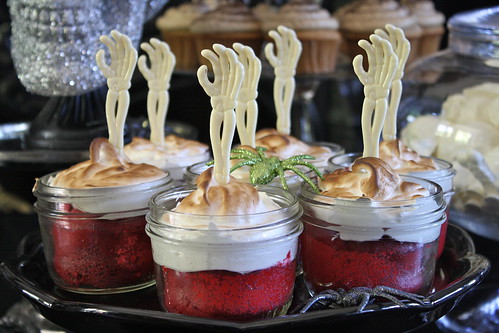
Because I wanted people to be able to see the color of the cake without having to cut into a cake, clear glass was the best choice for baking the cakes. And what is more simple and readily available than mason jars? I used the 8oz variety, so that they would be appropriate for single servings.
When it came to the frosting, I wanted to go with something that was untraditional and also had a “spooky” feel. Toasted marshmallow frosting had the just the affect I was looking for!
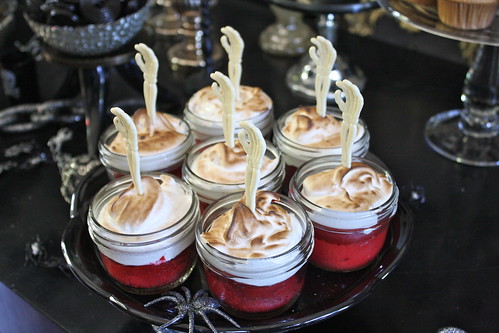
The plastic skeleton arm was the last touch to these red velvet Halloween cakes so that it would look like the arm is literally crawling out of the cake. Perfectly creepy…
Red Velvet Halloween Cakes, makes 12 cakes
2 ½ cups Cake Flour
½ tsp salt
2 Tbs Dutch processed cocoa powder (* it must be Dutch Processed)
½ cup butter, room temperature
1 ½ cups white sugar
2 eggs
1 tsp vanilla extract
1 ¼ cups buttermilk
2 oz Red food coloring
1 tsp white vinegar
1 heaping tsp baking soda
Marshmallow Frosting:
3 egg whites at room temperature
¼ tsp salt
1/3 cup sugar
1 cup karo corn syrup
2 Tbs water
1 TBS vanilla bean paste
For the red velvet cakes:
Preheat the oven to 350 degrees. Prepare 12 8oz mason jars tins with baking spray.
Sift together the already sifted flour with the salt and the cocoa. Set aside.
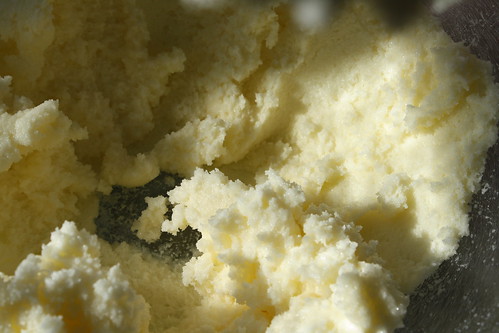
In an electric mixer, beat the butter until soft and fluffy. Add the sugar and continue beating until everything is well combined and again, fluffy.
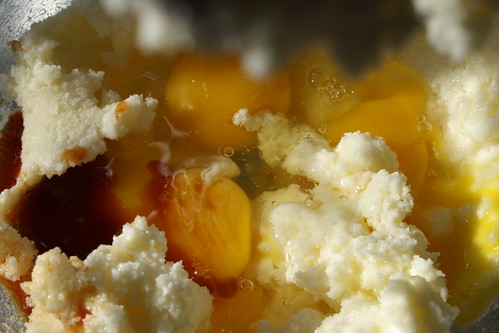
Add the eggs one at a time and mix until each is well combined into the batter. Add the vanilla and mix well to combine, scraping down the sides if necessary.
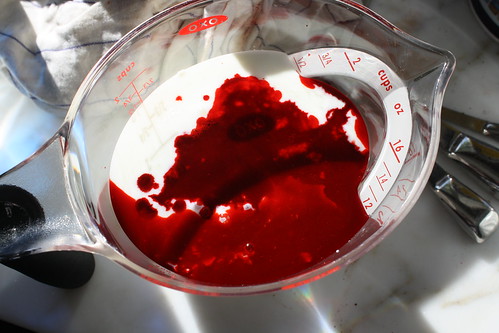
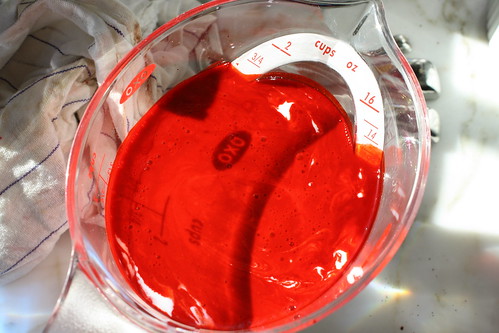
In a separate bowl, whisk together the buttermilk and the food coloring, completely kind of dissolving the dye into the buttermilk (otherwise it will sit on the bottom of the bowl).
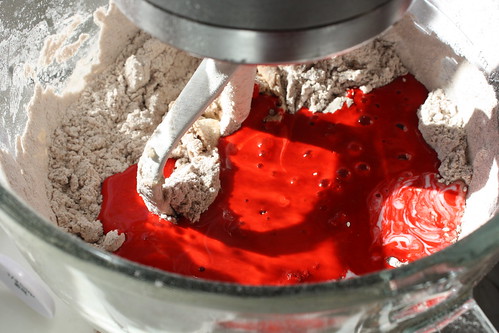
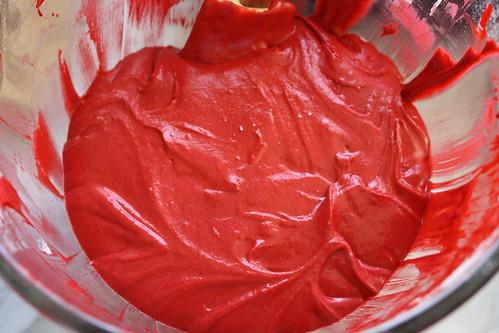
You are going to alternately add the flour and the buttermilk to the butter mixture in three parts, beginning and ending with the flour. Keep mixing the entire time, and scrape down the sides of the bowl to make sure that all of the butter and flour are mixed into the red batter.
Now! In a small bowl add the tsp of vinegar. Add the heaping tsp of baking soda and mix it with a spoon to combine. It will fizz up, and you should immediately add it to the batter, folding it in with a spatula until well combined.
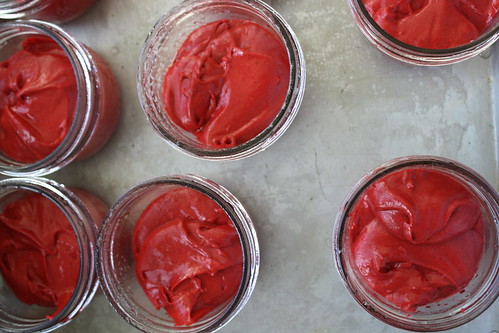
Immediately spoon the batter into the mason jars. (The batter is pretty thick, so I used an ice cream scooper and it was easier than the spoon I started with).
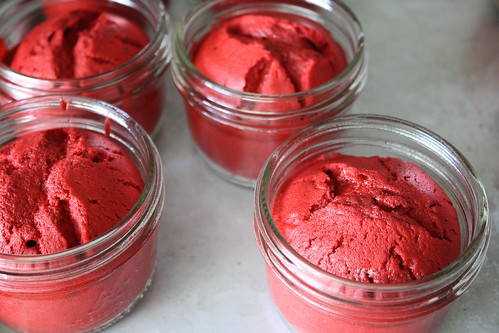
Bake the cakes at 350 degrees for 20 minutes. Pull the cakes out and let them cool before frosting.
Marshmallow Frosting:
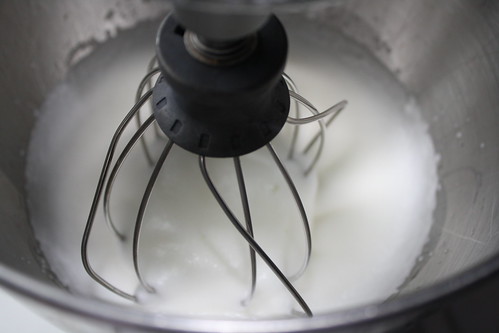
In the bowl of a standing mixer, whisk the eggs and salt until pale and frothy.
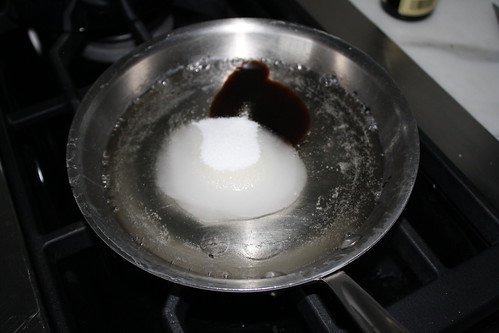
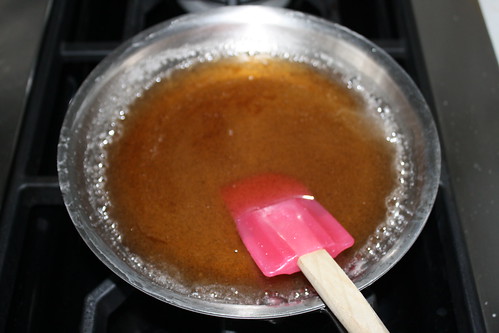
Meanwhile, heat the sugar, corn syrup, water and vanilla paste. Heat over medium flame until the sugar is dissolved and just simmering, about 5 minutes.
With the mixer on medium speed, add a tiny bit of the hot sugar mixture to the egg whites at a time. (Temper the eggs- don’t scramble them!)
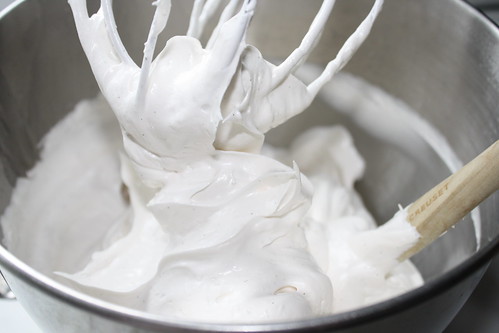
Eventually all of the sugar will be added and then turn the mixer up to high. Beat the mixture on high for about 5 minutes or until very stiff and shiny.
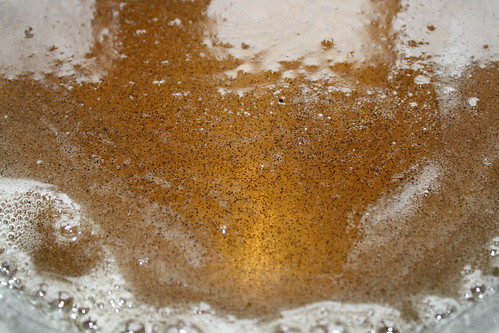
See the gorgeous flecks of Vanilla Bean Seeds?!
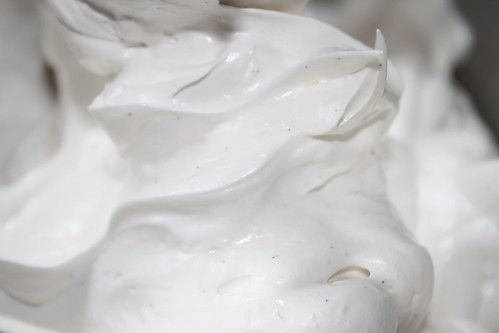
Pile the frosting onto the cakes as high as you want and put in the refrigerator to chill for about half an hour.
Using a kitchen torch, toast the tops of the marshmallow frosting. Alternatively place them under the broiler for 30 seconds.
Top them with a creepy skeleton arm for good measure!
Print Recipe


Oh my! these are the cutest! Love them.
These are pretty “creepolicious” if you ask me! So creative… and I know delicious – love the idea of the marshmallow frosting instead of the traditional cream cheese!
yes! I needed something different than just cream cheese! and the marshmallow is surprisingly moist!!
Love cooking up cakes in Mason jars – perfect way to send too…
Perfect Halloween idea! Love it.
You are so darn creative and original!
I love these – most appetizing ghoul cakes I’ve ever seen! 🙂 Good job on the show … LOL when you said to Margaret “I don’t think these rings are going to be family heirlooms” … so funny! Loved the glitter spider rings and your spider headband – Festive Christo!
Thanks Soupista!! By the way I have made about 6 new soup recipes in the last few weeks- they are a comin!
That is SOUPA news my friend!! 🙂 I need them asap with this weather! So excited – bring them on!
Very unique love them!
Heather, these are fabulous! Love that we can see that beauty of a red cake through the jars. Very creative my friend 🙂
thank you Marla 🙂
Spooky idea! I love that you used jars. Perfect way to create individual servings for a party!
very, very cute Heather – and i’m not big on Halloween!!
So wonderfully festive to have cake in a jar like this. Love, love, love.
these are so totally cute
Wow. What a great idea and presentation.
thank you!!
Where did you find the skeleton arms? I love this idea!
I want to make the cake as a whole cake
Beth- why don’t you try making this cake:http://heatherchristo.wpengine.com/cooks/2013/02/03/red-velvet-strawberry-chocolate-cake/