Granola Bars
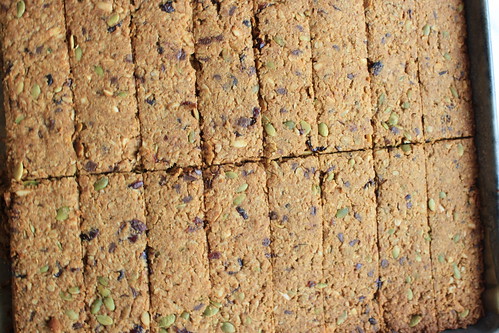
This was a request from a friend that had a long road trip/weekend at the lake with friends for the 4th and whom was supposed to bring granola bars. She has been looking for a good granola bar recipe for quite a while and had been unable to find one. This girl is like a granola connoisseur, so I knew they had to be good! I actually got her to supervise the process so I could see what she was looking for, and when I asked which of the dried fruits, nuts, etc. I should add, she responded, “all of it,” so I did!
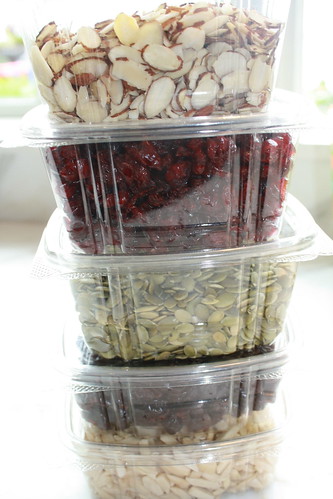
The great part about this recipe is that you can really adjust the flavors to suit your wants. These are kind of “grown up” granola bars, packed with nuts, seeds, dried fruit and dark chocolate- but you could certainly make a more kid friendly or simple version. Have fun with it!
Granola Bars
4 ½ cups oats
1 cup flour
1 tsp baking soda
1 tsp cinnamon
½ tsp salt
1 cup butter, soft
½ cup brown sugar
½ cup honey
2 tsp vanilla
½ cup pumpkin seeds
½ cup slivered almonds
¾ cup dried cranberries
¾ cup mini dark chocolate chips
Preheat the oven to 325 degrees.
Prepare a half sheet pan with a piece of parchment paper, and then spray a pan spray over the top of the parchment paper. (A trick to getting the paper to stick to the pan on the bottom is to do a little sprits of the oil spray on the pan before you lay the paper down.)
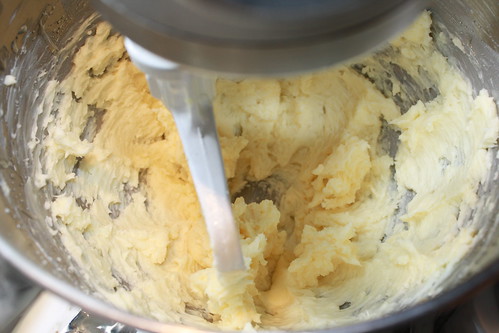
In a large mixing bowl or standing mixer, beat the butter, honey, brown sugar and vanilla together until creamy.
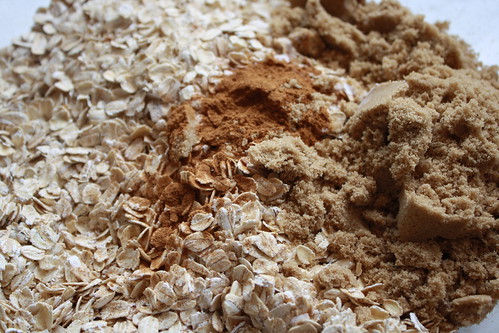
In another bowl, combine the oats, flour, baking soda, cinnamon and salt. Stir gently to combine.
Add the dry ingredients to the butter and sugar mixture and beat to combine well.
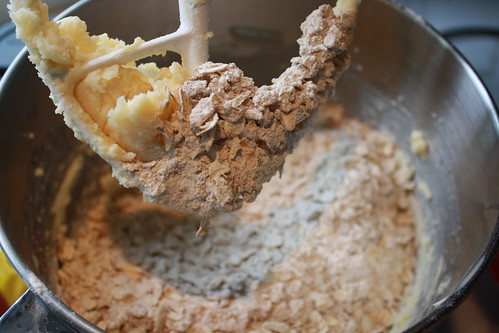
Stir in the nuts, seeds, cranberries and chocolate and stir until just barely combined.
Dump the dough out onto the prepared sheet pan.
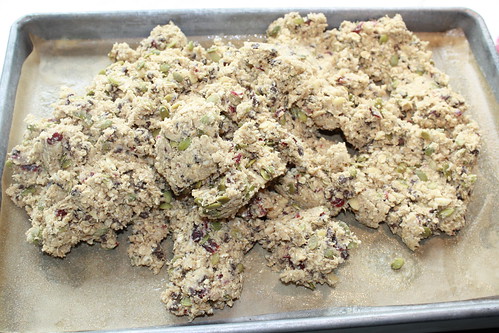
Using a rubber spatula, spread the dough out into a thin, even layer that covers the entire pan.
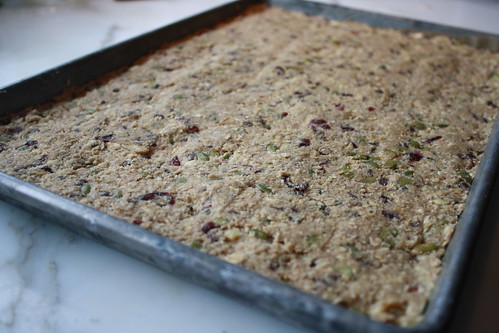
Place the pan in the oven and bake 15 minutes, take the granola bars out, and using a thick, even spatula, press the granola firmly back down into the pan. This will help condense the granola mixture so that it stays together when they are cut.
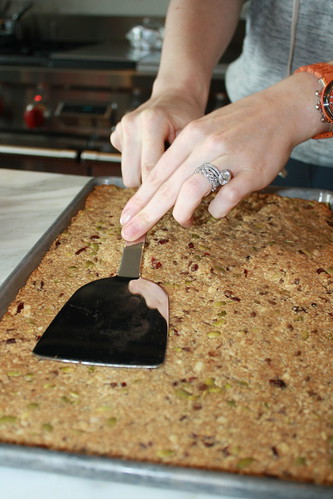
Put the granola back into the oven. Repeat this process at the 30 minute mark, and at the 45 minute mark.
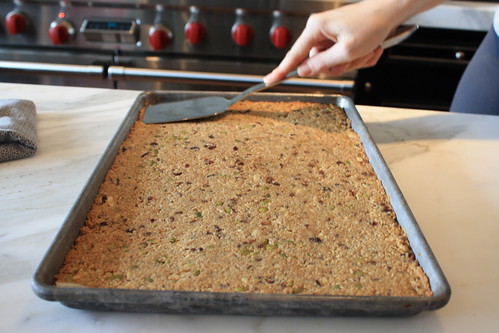
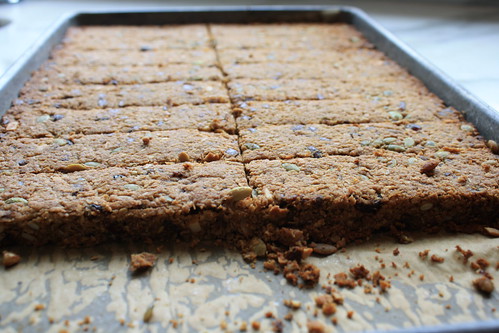
At 45 minutes they should be golden brown and firm. They will firm up even more as they cool. Let the granola cool for about 10 minutes before you cut them, (I used a pizza cutter). Then let them sit in their pan until totally cool.

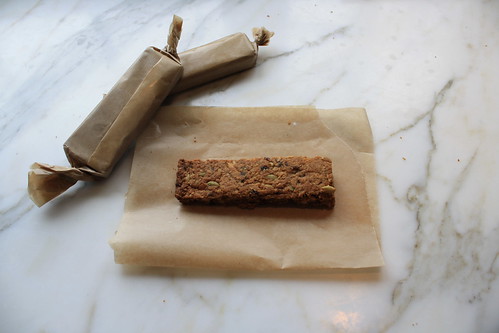
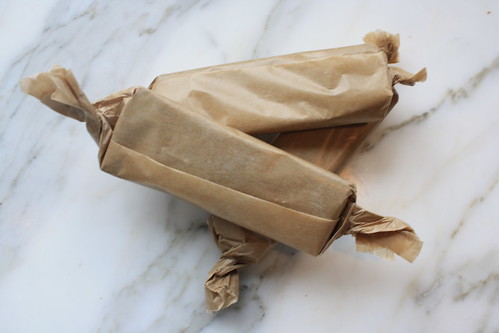
Remove the bars from the pan with a spatula, and store them in an airtight container. I wrapped them in doubled up sheets of parchment, and then stored them in Ziplocs. They make for cute “on the go” snacks!
Enjoy!



I will admit these granola bars (which I was the lucky recipient of) were gone within the first two hours of our 7 hour car ride! Sooooo yummy!
These look great!!!! How long would they last (if not gobbled up right away!)
I made these a week ago, and they are still great! I would guess another week or more if stored properly…
I just found your blog the other day and wanted to say thank you for these granola bars! I made them yesterday and they turned out PERFECTLY- not sticky and way too hard like a lot of granola bar recipes I’ve tried.
Thanks again!
hey these sound lovely… followed u here from the tasty kitchen link =) really wanna make these.. but all i have is instant oats.. would they work? or do i need to get the rolled one? and also. do these become crunchy? i like the crunchy ones but these sound delish so def gonna give em a whirl !! =)
Hi ninu. Yes- they are crunchy, (but crispy crunchy, not break a tooth crunchy!)I have not tried the instant oats, but I am always a fan of adjusting recipes to use what you have on hand- I would go for it!
How many bars did you make? By your picture it looks like 16- when I made these and added up the calories it was 352 calories per bar. Did you cut them into more than the picture shows?? Or do you know a way to cut down on the butter? That was the biggest culprit of calories.
Could these be frozen either before or after baking? I am trying to double (or triple) most recipes I make now, freezing enough for 2 or 3 subsequent batches so when we are super busy I can still provide home-cooked, healthy meals with much less prep time.
Good for you Tammy!! I freeze mine after baking- and even better I freeze them wrapped in wax paper and then ziploc them and pull them out frozen for lunches all the time- they thaw by lunch!