So, since January, (with Pia’s allergy testing coming back) we have been trying to eat almost exclusively gluten free in the home, while saving other indulgences for Pete, Coco and I when we are out. It is just easier for Pia, and in lots of ways for us- at least for now.
It hasn’t been as hard as I thought, with rice, corn and potatoes taking on a bigger role in our diet, but I have to say that there are some things that were painfully missed- at least until now. Like pizza.
Even the good brand GF mixes (like cup4cup) were out for us because they have dairy in them, so we were really starting from scratch. The first month or two we just tried to make regular pizza dough recipes, adding more yeast and swapping GF flour for regular. Well, it turns out it is not that easy! I could get it into a spongy slightly risen dough that worked pretty similarly to regular dough, but when it bake dup- well, watch your teeth. Not to mention the somewhat mealy, pasty, grainy texture that the crust took on. Nasty stuff.
But it was when I made this recipe that I found a way to make it all work. We have made it probably 4 times in the last week because we were so excited to be eating pizza again! After making and tasting this recipe over and over again, I have made some changes to the original recipe to suite our tastes and make it our own. Now we are just making it over and over so I had to share it with you.
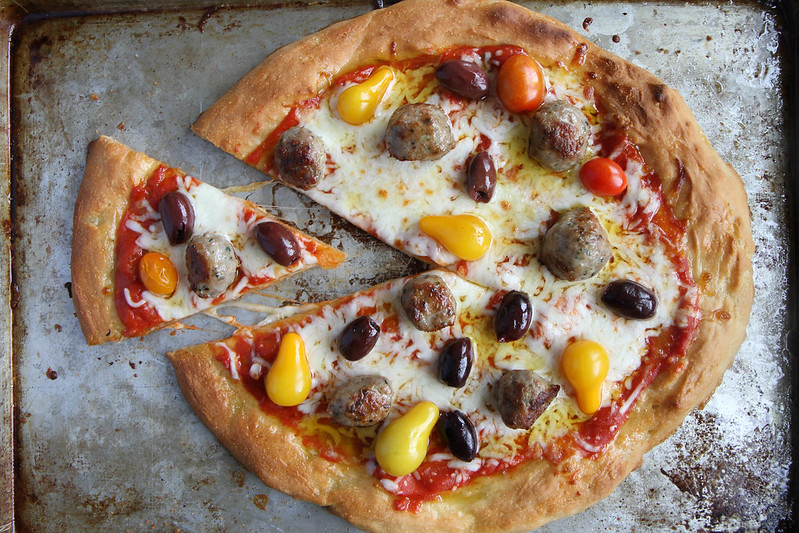
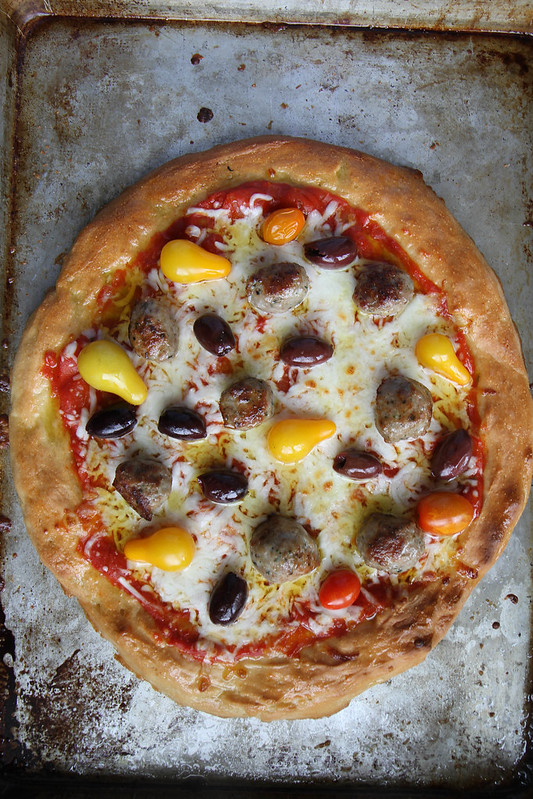
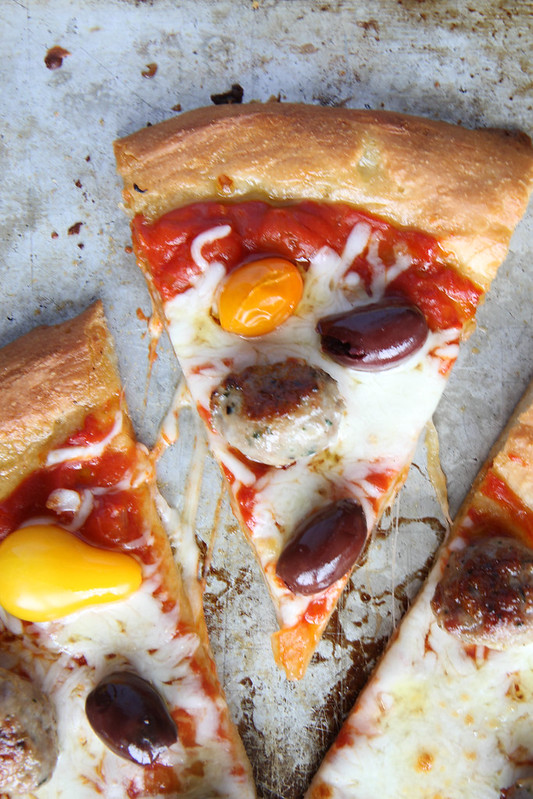
It is crispy and a piece of pizza stands up straight holding it out. It’s also chewy and has some tear to the crust, which makes it like “real” wheat based crust. It also has a touch of tang due to the vinegar, kosher salt and the onion powder that I added. And I have to admit that we did not even use the eggs- we just did the egg replacer for Pia’s sake- so I bet it is even better with the eggs!
Almost everyone I have talked to has someone close to them that is gluten free- it is just everywhere these days- so I love this recipe for those of you who want to make a meal your whole family will love or do a pizza dinner with friends that are gluten free. The pizza is so seriously delicious- no one will be looking for the “original” recipe.
To make the Best Gluten-Free Pizza Crust, this is what you do:
Preheat the oven to 400 degrees. Grease two sheet pans with olive oil and set aside. Proof the yeast in 1 ¼ cup warm water (110-115 degrees) with the 1 teaspoon of sugar.
In the bowl of a standing mixer, whisk together the GF flours and dry ingredients.
Add the proofed yeast to the dry ingredients. Add the oil, eggs (or replacer) and vinegar.
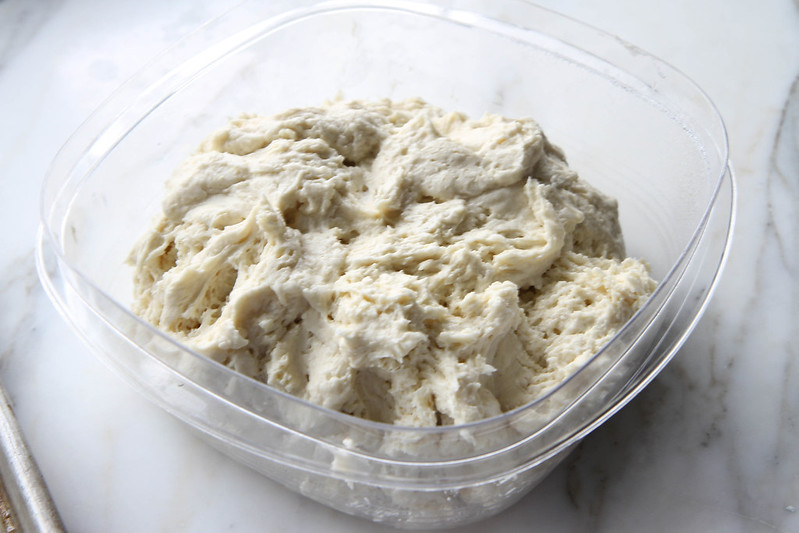
Beat the dough until you have a smooth and sticky batter. The pizza dough should be creamy smooth and not too thick. It reminds me of a soft cookie dough consistency. (At this point you can use immediately or store in a tupperware in the fridge to use within a few days.)
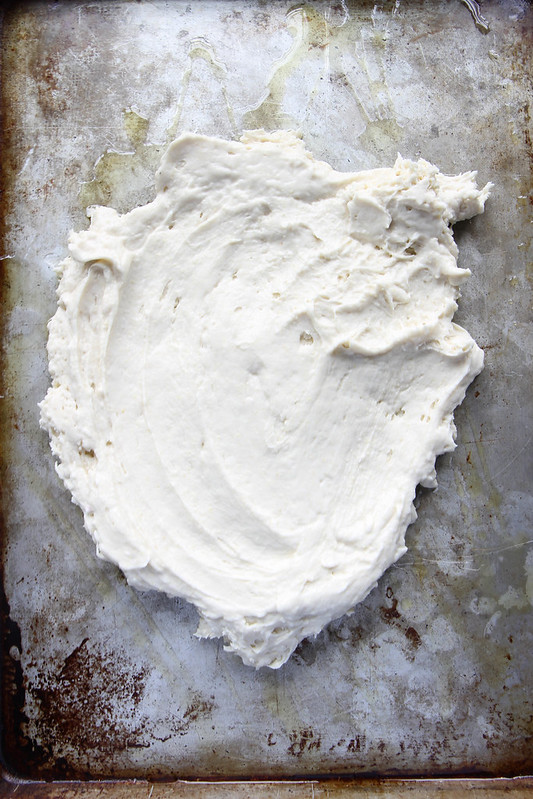
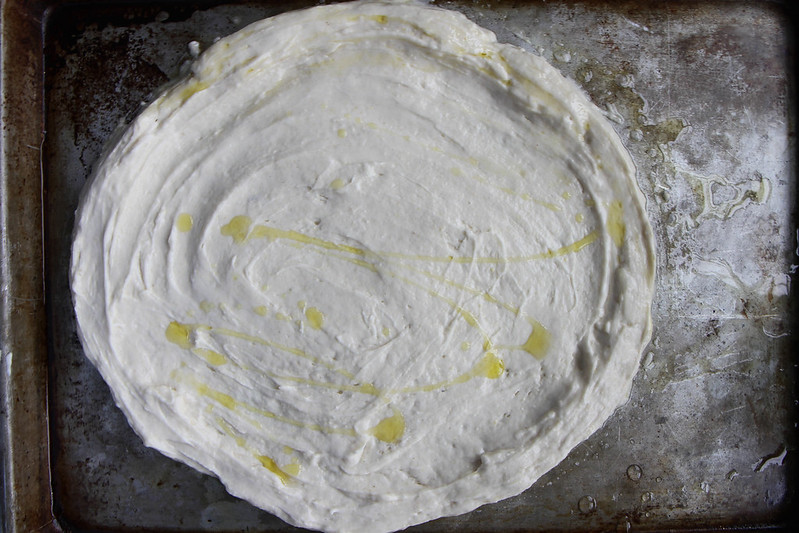
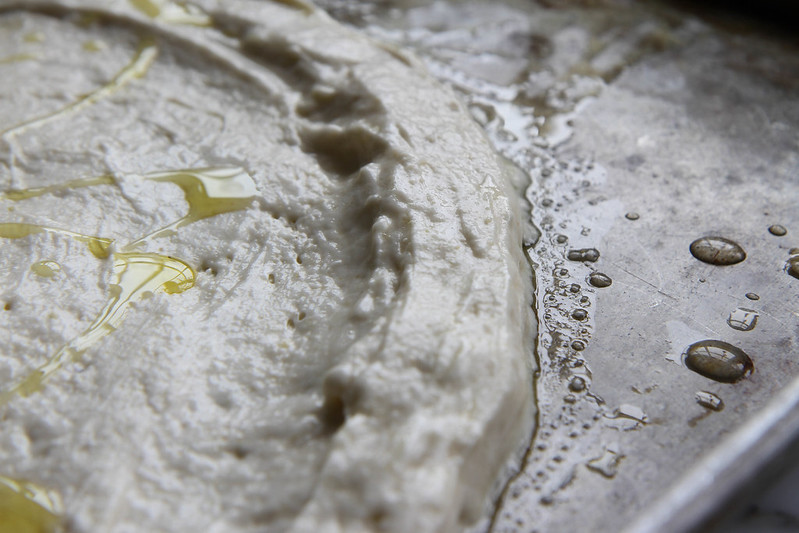
Transfer each half of the dough onto the center of a prepared pizza pan. Then, using clean, wet hands press down lightly and flatten the dough to create a thin, even pizza shell, with slightly raised edges.
I had to constantly keep wetting my hands as I went along. Remember that the dough is VERY soft and if you try to touch it with dry hands it will simply tear away from the pan. Take your time to smooth out the dough with wet palms. Get it as smooth as possible, and as thin as possible in the center.
Set the pizza shells in a draft free spot to rest and rise a bit- about 15 minutes. Drizzle with olive oil and sprinkle with kosher salt.
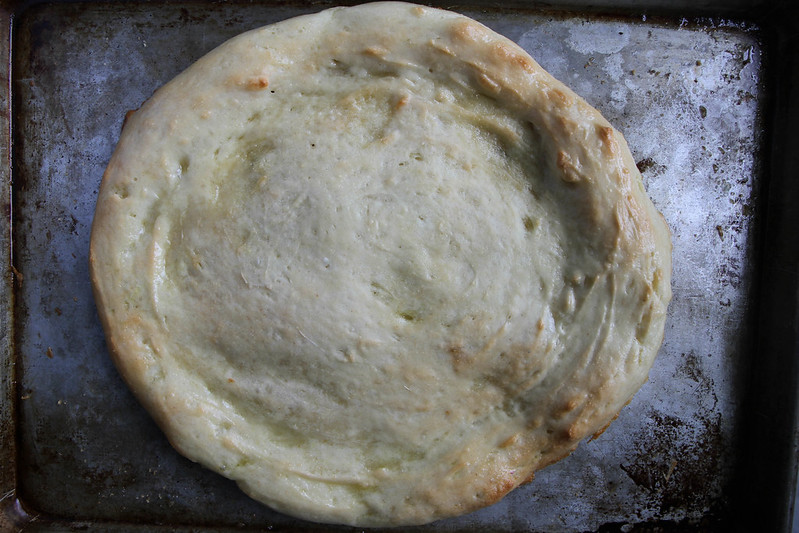
Place the two pizza pans in the oven and bake for ten minutes until golden, switching racks half way through.
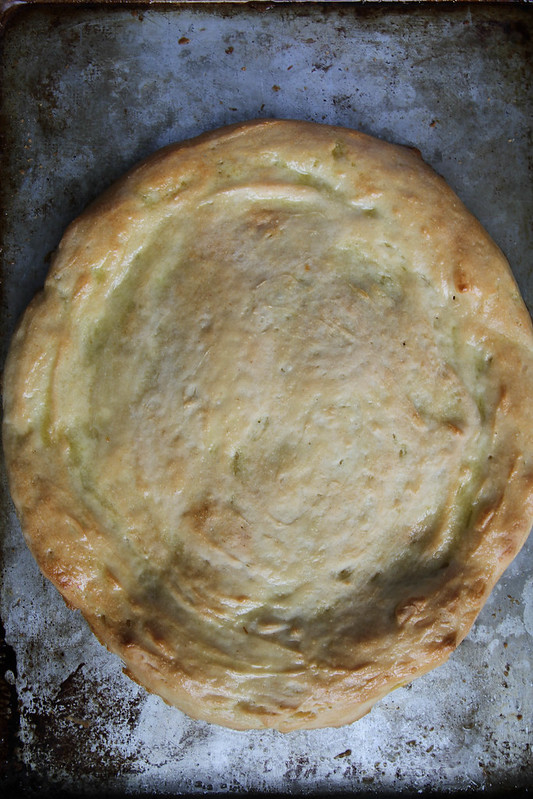
Brush with olive oil and return to oven for another 5-7 minutes.
Remove the crusts from the oven and preheat the broiler.
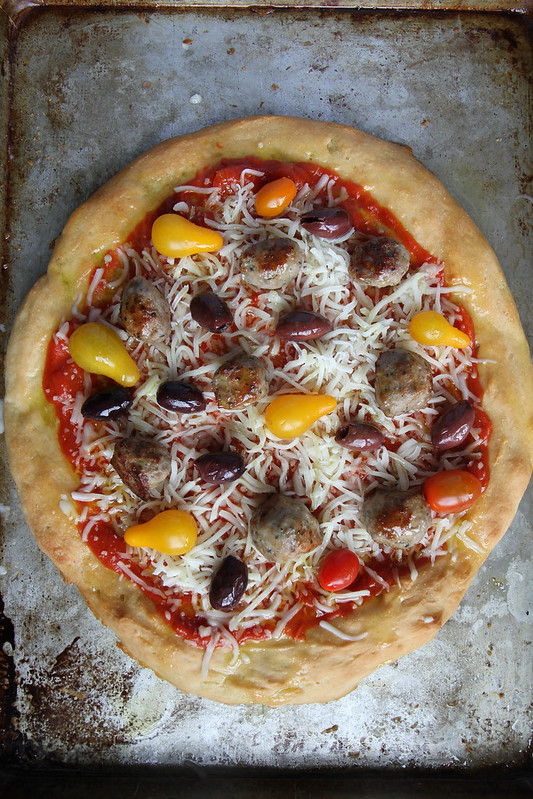
Brush the pizza crusts with a little extra virgin olive oil. Top with whatever ingredients you want.
Then broil 2-3 minutes, keeping a close eye, until the cheese is melted and the crust is a deep golden color.
Slice and serve immediately!
Recipe: The Best Gluten-Free Pizza Crust
Ingredients
- 1 cup tapioca starch
- 1 cup sorghum flour
- 1 cup potato starch
- 1/2 cup brown rice flour
- 1/2 cup GF millet flour
- 3 teaspoons baking powder
- 2 teaspoons xanthan gum
- 1 teaspoon kosher salt
- 1 teaspoon onion powder
- 3 tablespoons white sugar (or beet sugar)
- 1 and 1/4 cups warm water (between 110 – 115ºF)
- 1 teaspoon white sugar (or beet sugar) – for proofing the yeast
- 1 packet (1/4 ounce) active dry yeast
- 1/4 cup good olive oil
- 1/4 cup aquafaba (or egg replacer for two eggs)
- 2 teaspoon white vinegar
Instructions
- Preheat the oven to 400 degrees. Grease two sheet pans with olive oil and set aside.
- Proof the yeast in 1 ¼ cup warm water (110-115 degrees) with the 1 teaspoon of sugar.
- In the bowl of a standing mixer, whisk together the GF flours and dry ingredients.
- Add the proofed yeast to the dry ingredients. Add the oil, aquafaba (or replacer) and vinegar.
- Beat the dough until you have a smooth and sticky batter. The pizza dough should be creamy smooth and not too thick. It reminds me of a soft cookie dough consistency. (At this point you can use immediately or store in a tupperware in the fridge to use within a few days.)
- Transfer each half of the dough onto the center of a prepared pizza pan. Then, using clean, wet hands press down lightly and flatten the dough to create a thin, even pizza shell, with slightly raised edges. I had to constantly keep wetting my hands as I went along. Remember that the dough is VERY soft and if you try to touch it with dry hands it will simply tear away from the pan. Take your time to smooth out the dough with wet palms. Get it as smooth as possible, and as thin as possible in the center.
- Set the pizza shells in a draft free spot to rest and rise a bit- about 15 minutes. Drizzle with olive oil and sprinkle with kosher salt.
- Place the two pizza pans in the oven and bake for ten minutes until golden, switching racks half way through. Brush with olive oil and return to oven for another 5 minutes.
- Remove the crusts from the oven and preheat the broiler.
- Brush the pizza crusts with a little extra virgin olive oil. Top with whatever ingredients you want and then broil 2-3 minutes, keeping a close eye, until the cheese is melted and the crust is a deep golden color.
- Slice and serve immediately!
Preparation time: 30 minute(s)
Cooking time: 20 minute(s)
Number of servings (yield): 8
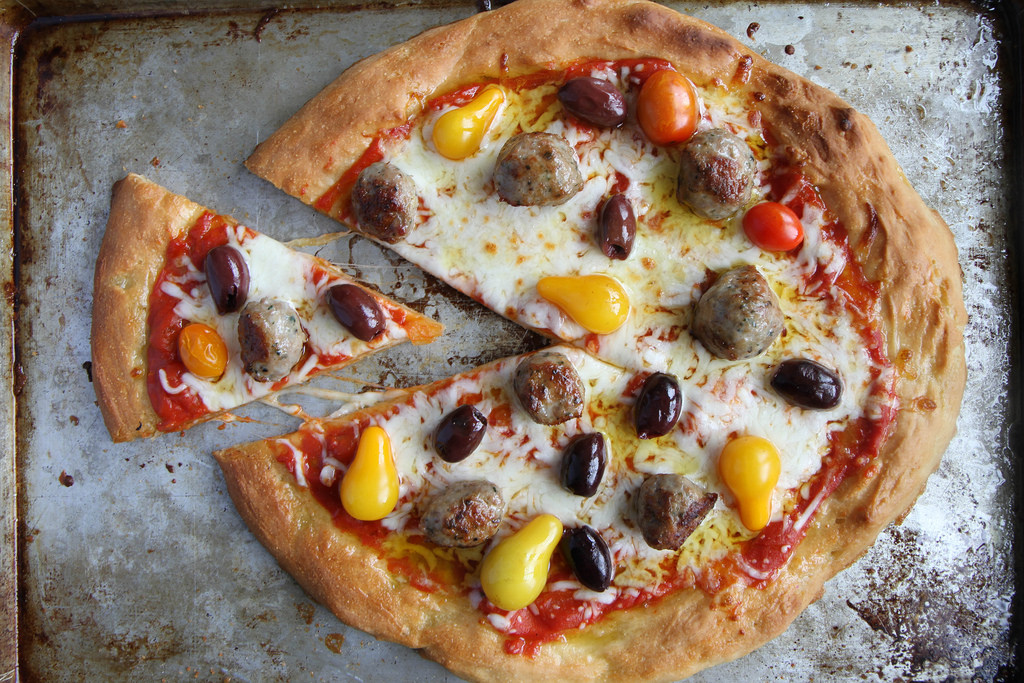
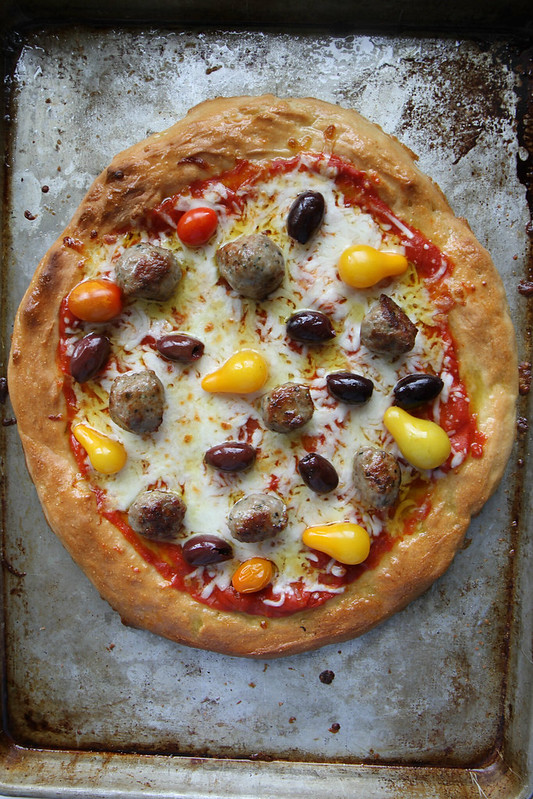
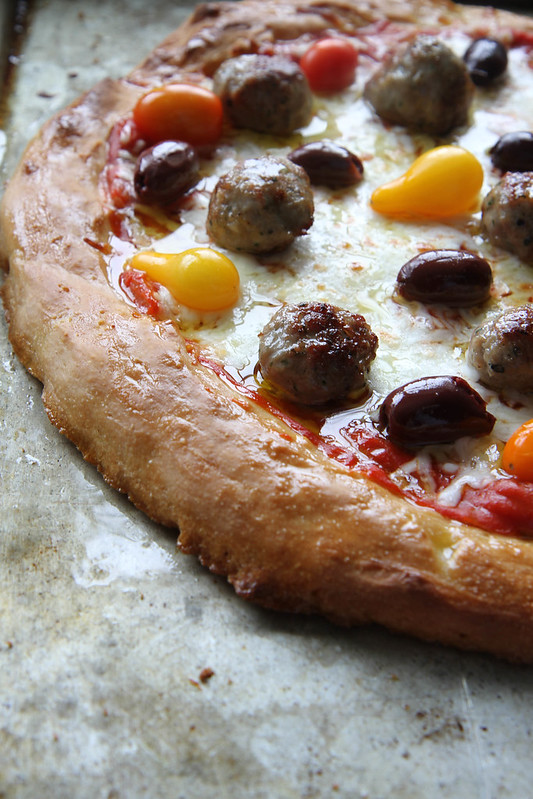
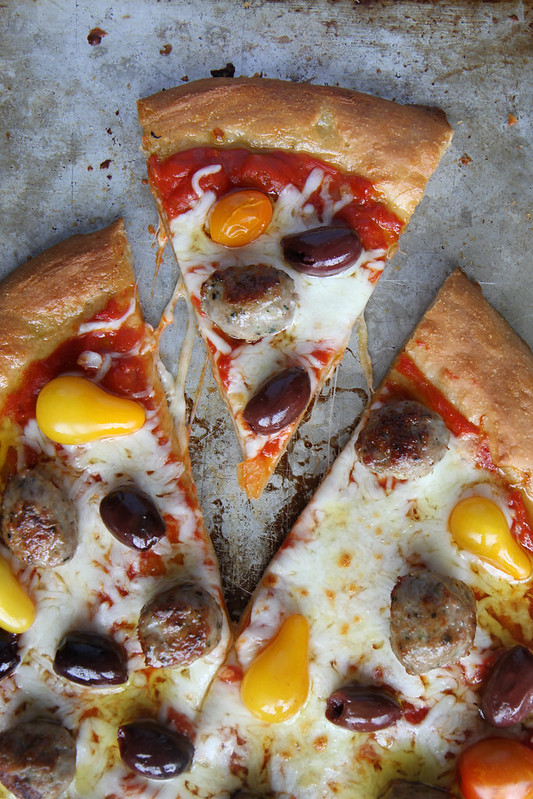


that crust really does look terrific! I’ve never had much luck with good GF crust
Heather- it is notoriously a bummer- so this is a great recipe to have in your back pocket!
That pizza looks so good. I love the cute little toppings! 🙂
Thanks Amanda! And I swear the crust is excellent!!
This pizza looks so good, and such a great option for anyone eating GF!
This looks so neat!! Love this!
I’m going to have to try this recipe. One of the ways I have found to ease rolling out or otherwise flattening gf dough is to put it between two sheets of parchment paper. It keeps it from sticking. But it definitely helps to have someone hold it steady as it will slide away from you if you are using a rolling pin.
This looks so appetizing! I really appreciate all your recipes. Many thanks.
Of course Monica!! Glad it looks good!
This is a great recipe. Good texture and taste. I really like the consistency of the dough before it is cooked. Instead of using my hands to create the crusts, I sandwich the dough between two sheets of oiled parchment paper and press out that way. Don’t know if it will rise and bake differently, but it’s a lot cleaner!
Thanks!
The Brand Fam
http://www.racolife.com
I just made this, thanks for sharing. I thought I had it thin enough, but next time I will definitely make it even thinner. My crust did get soggy when topped with the sauce (I know this is typical for GF breads), otherwise it worked really well.
Ever since being diagnosed with a wheat allergy, almost two years ago, I’ve been on the hunt for a great GF pizza crust. You’re so right, this is it. I didn’t add seasoning to the dough, (personal preference), formed it on parchment paper, and baked it on my pizza stone. It performed beautifully, and the hubs and I both enjoyed it. I froze half of the dough, and instead of making another pizza with it, I made focaccia bread. It was fabulous! Seriously. I could serve it to wheat eaters, and they’d be none the wiser. I cannot thank you enough!
Love this recepie <3 Can I use flax egg or Psyllium Husk egg instead of egg replacer?
yes- I have not tried that, but it should absolutely work. I have a more up to date version in my new book and I use a few other ingredients that make it even better!
Is there another flour that I can safely substitute the millet flour with?
Hi Casey0 I would replace it with extra sorghum flour 🙂
I (wheat-eater) shared a pizza using this dough with my daughter (many allergies) last night. We both loved it.
Next time around I plan to make multiple bases and freeze before the final bake, hopefully this will leave me pizza crust on hand for her.
A great recipe 🙂
SO happy to hear that Jan! Thank you fro letting me know!
I typed in Google search “aquafaba pizza dough” and your recipe popped up. After reading the ingredients and admiring your photos, i hurried to the kitchen to whip this up.
I replaced the sorghum with chickpea and potato with arrow root. I followed everything exactly otherwise.
I follow a vegan diet, and therefore topped the finished crust with cherry tomatoes, sweet peppers, and onion. My whole family just loved it.
Thank you so much for creating this recipe. I will continue to use it. I have a photo, but it doesn’t look like I cam share it here.
Maggie I am so happy to hear that you enjoyed it and just hit me on any social media with your picture I would LOVE to see it!!
Just wanted to say first, thank you for your awesome recipe! I wanted to also say to be careful when omitting one allergen (in your case, gluten), only to add in another one, corn. From the words of Anthony William (The Medical Medium), “Unfortunately, the technology of genetically modified organisms (GMO) has destroyed corn as a viable food. Corn products and by-products create substantial inflammation. It’s a food that can feed viruses, bacteria, mold, and fungus. Even if you see corn advertised as being non-GMO, the chances are high that it can still trigger any kind of health condition—and that it may still be GMO. Try to avoid all corn and all products that have corn as an ingredient. These include foods such as corn chips, taco shells, popcorn, corn cereal, and anything that clearly incorporates corn syrup or corn oil. They also include less obvious products, such as soda, gum, high-fructose corn syrup (HFCS), toothpaste, gluten-free foods that use corn in place of wheat, and herbal tinctures that employ alcohol as a preservative. (It’s most likely corn grain alcohol. Buy the alcohol-free versions of tinctures instead.) Try to read ingredient labels carefully . . . and do the best you can.” My best to you! Julie
I couldn’t agree more and no longer eat corn which gives me terrible acne and inflammation problems.
THANK YOU…..